

Taveuni, Fiji: A Place That Keeps Calling Us Back
There are some places you visit once and remember forever. Then there are places that somehow become a little piece
Whenever someone starts accumulating more dive gear they (hopefully) ask about how to properly take care of it. You’ve spent a lot of money on your equipment, and the way you take care of it will decide how long it lasts for!
The rules are pretty straight forward but there are some nuances for each piece of equipment that you will want to be aware of.
Let’s start with the basics…. Personal Gear: Mask, Snorkel, Fins, Wetsuit… The things that you definitely want to be the only one using. They are relatively simple to take care of but don’t neglect them!
If you forget to rinse your mask and snorkel and then put in a box or bag for a couple weeks (or months) between dives, you are in for a surprise. That thing is going to mold like nobody’s business.
As trivial as it seems just give them some love and a good fresh water bath whenever you’re done using them for the day. Be sure to dry them out thoroughly before storing them! You’ll also want to avoid leaving them sitting out in the direct sunlight, the sun tends to cause fading and yellowing of the silicone skirt.
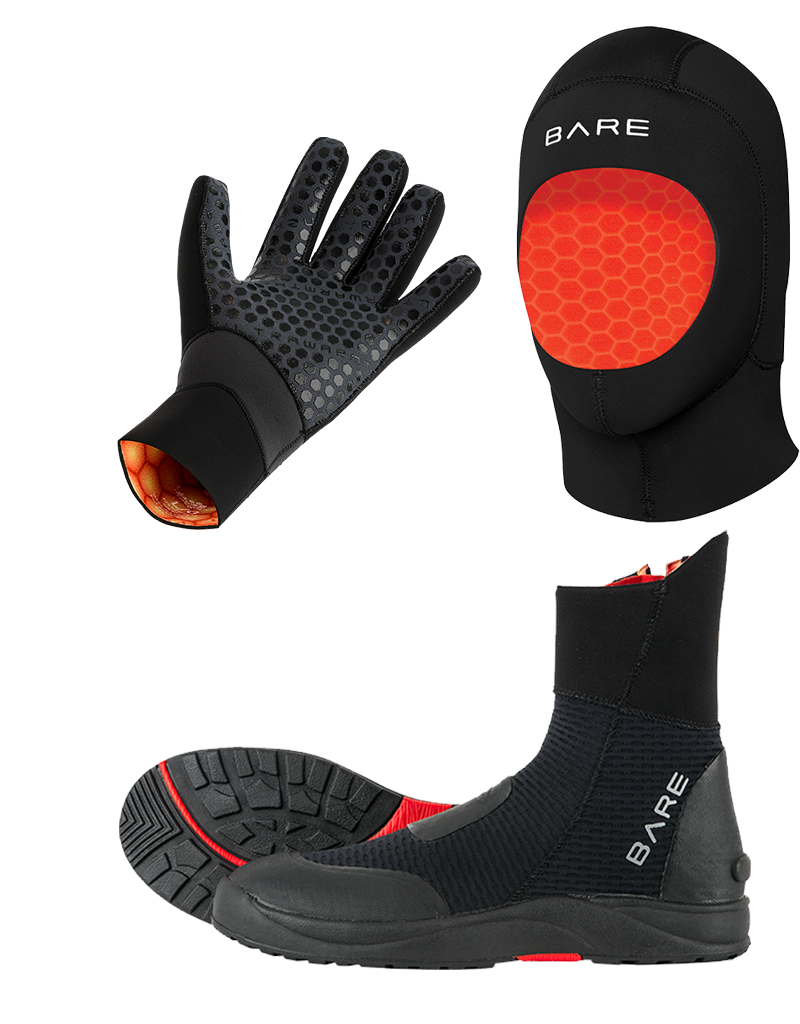
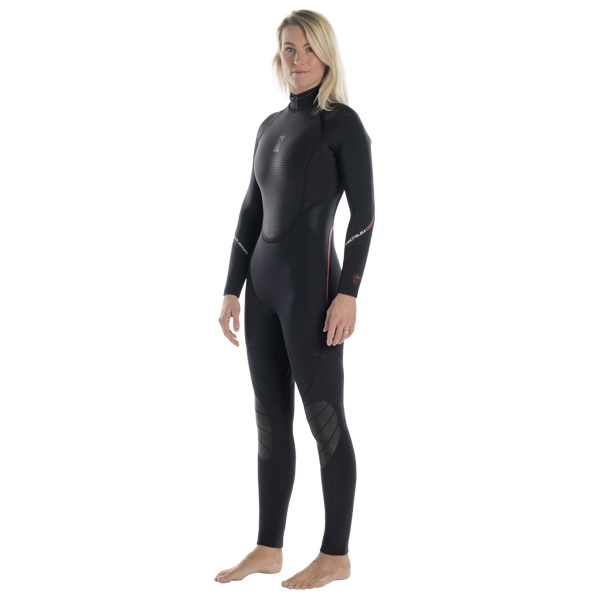
Wetsuits and neoprene accessories can be a pain because they take so long to dry, but it’s worth it. There’s only one thing worse than putting on a wet wetsuit and that’s putting on a smelly wetsuit because you didn’t take 30 seconds to rinse it off. After a trip, we recommend giving it a thorough wash using a Wetsuit Shampoo. This goes for all neoprene, whether it is a wetsuit, boots, gloves, or hood. If you notice your gear has a bit of a smell, you can use an odor eliminator such as “Sink the Stink” to help get rid of it
Once you’ve rinsed everything, it’s best to hang it to dry. When storing it long term, you can hang them on a Heavy Duty Hanger (for wetsuits, if the hanger is too thin, it may start digging into the shoulders of the material, and damage your suit). You may also choose to store it folded (just be sure to fold it loosely, it it’s folded tightly for long periods of times you may have some creases that form).
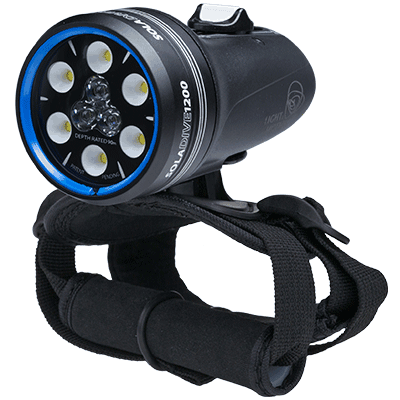
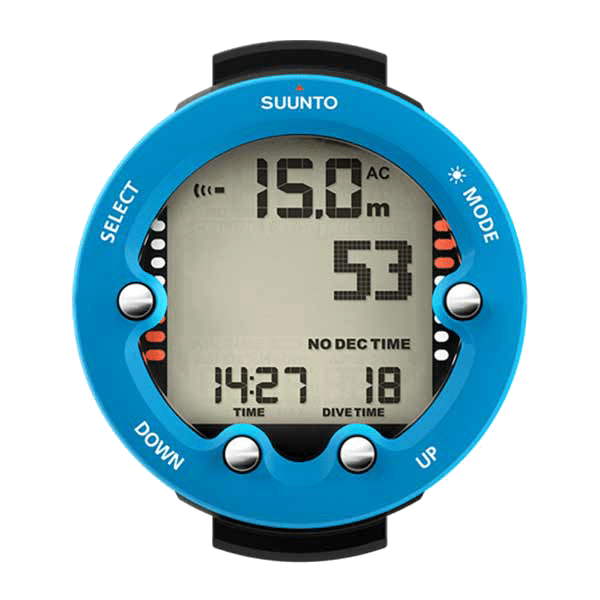
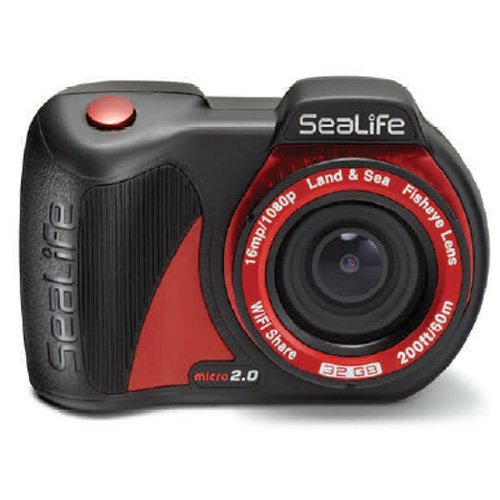
Take really good care of all your underwater electronics. Anyone can tell you, electricity and salt water don’t mix! This Means:
For how much space they usually take up, these items are the most expensive out of the lot, so why put yourself in a position of having to replace them sooner than needed? Anything with electronics are going to need a good seal to keep working, so if you don’t rinse them really well, and lubricate those o-rings often, you are going to be spending a lot of money.
Salt crystals will eat away at seals and will jam up buttons and moving parts. A quick rinse doesn’t usually do the trick for these ones; you will want a tub or bucket of water to set them in so it can soak and really dissolve all the salt that’s in there. With the buttons and switches you will find yourself thinking that you rinsed it reasonably well under a hose so it should be fine! It’s not. Let them dry and then try pushing some buttons. You are going to have little crystals of salt flaking off as things start to move around. If you’ve given it all a good rinse, next is to make sure all the sealing o-rings are in good shape and not dried out. A good Silicone Lubricant is always a good bet to put on the o-rings after you’ve given them a wipe to make sure they are going to keep your expensive electronics dry and working dive after dive. (Be sure to follow your camera manufacturer’s recommendations on silicone lubricant, the wrong kind can damage your o-ring and cause catastrophic failure underwater).
Think of it as a more technical oil change; you are doing it to prevent an issue happening out at the dive site or worse, on the dive. Just because you have scheduled servicing doesn’t mean you can forget all about taking care of your regs! An annual servicing cannot reverse months or years of poor care and cleaning! Remember salt and metal aren’t a good combination if you’re looking to keep things clean, new, and working.
As soon as salt crystals form they are going to start corroding and eating away at the nice new chrome-plated brass regs you were just bought. Let that happen too long or too often and you’re looking at a much higher bill when you bring them in for a service because more parts or going to have to be replaced and ordered because there was simply too much corrosion to be usable.
Just like all of your other dive equipment, you want to give them a nice long rinse in freshwater after diving to get as much of that salt off as possible. The tricky part about your regs though, is that unless you have them pressurized on a tank you are risking getting water inside which is going to start corroding metal and dissolving lubricant which can be really bad.
So how do you solve that? Rinse the first and second stage separately, always keep the first stage dust cap on and sealed, and never press the purge button when the second stage is underwater without air.
BCD’s are relatively easy to care for and maintain, but there are a few things to remember. Aside from the rinse and dry on the outside, you don’t want to neglect the inside either
BCD’s are going to get water inside the bladder when you’re using it for buoyancy, we all saw this during the very first course we took.
To drain the water out, you’ll want to press the deflate button and hold the bcd up, with the inflator facing down (so the water will drain out). You’ll also want to be sure to rinse the inside thoroughly so you don’t have any salt crystals building up inside.
The easiest way to rinse the inside of the BCD, is to hold the deflate button and use a hose or tap to put water in through the opening. You can then orally inflate your bcd, and give it a good shake to make sure you rinse the entire bcd. Then when you’re done, just make sure to drain all of the water out.
Another trick if you are going to be storing your BCD away for a bit is to unscrew one or both of the dump valves and stick the hose right in there and give it a good flush before putting it away, as well as rinsing the inflator really well. You want to make sure you press the buttons down a few times while rinsing to get the salt out. I have had salt build up under a deflate button so the bcd stopped holding air!
Finally, a hanger designed specifically for holding a BC Vest and regulator during drying and storage. It is built sturdy
It is usually not necessary to rinse the inside of your drysuit, but it is possible you might have some moisture build up (from sweat or maybe you had a leak). If this does happen, you’ll want to be sure to turn it inside out so you can air it out! If you have a suit with built in boots, sometimes this can be difficult, but there are also special hangers that have a built in fan to circulate air in your suit.
If you have a drysuit with latex seals, proper care is crucial! There is nothing worse than having a seal blow out right before a dive. Though it can be unpreventable at times, there are things you can do to minimize the likelihood of that happening. It’s a really good idea to clean the seals with soapy water whenever you can, as well as apply talcum powder before and after every dive. Not only will this make them more comfortable but it makes the latex last longer. Our natural skin oils or any products (sunscreen) that is on your skin will quickly degrade your seals and you’ll be doing more replacements than necessary.
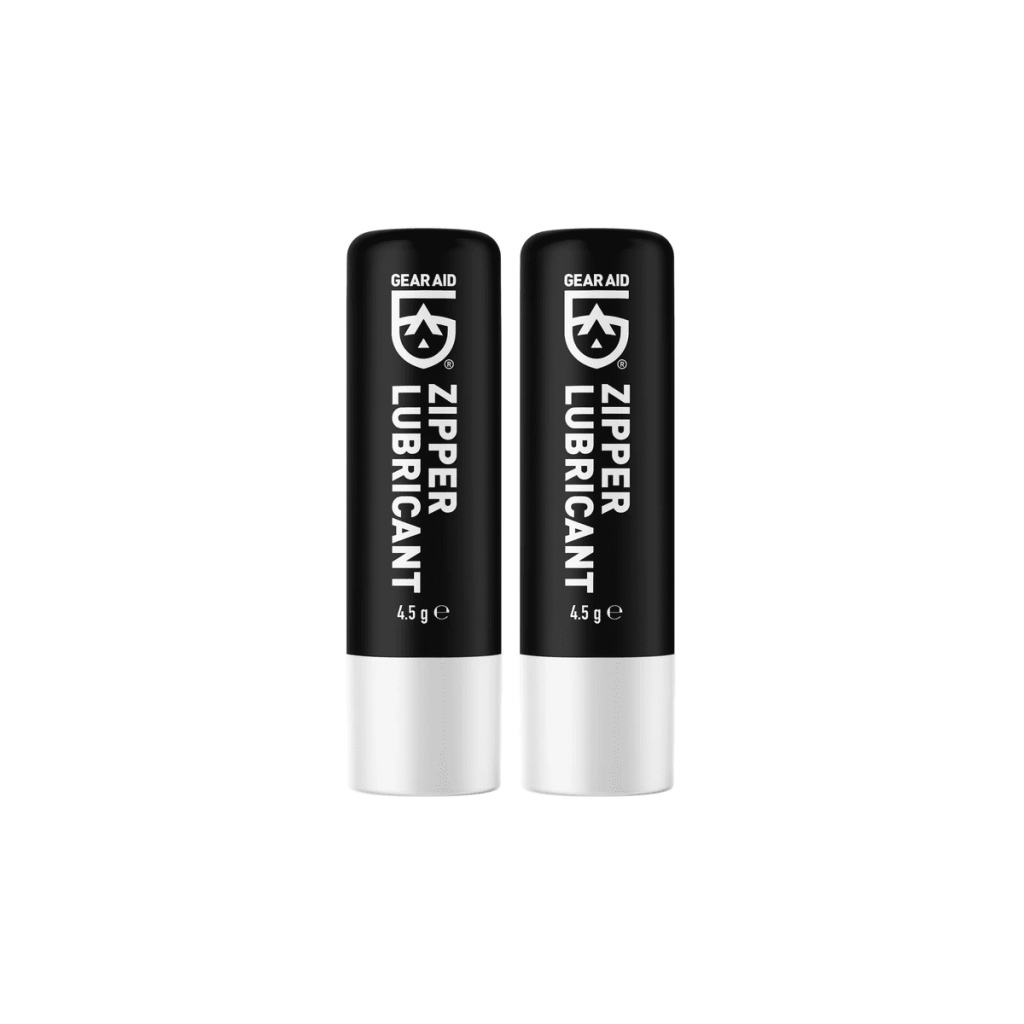
The most expensive part (and critical component) of your drysuit is the zipper. A well maintained zipper is what makes the difference between a dry dive and a not so dry dive! It’s important to keep your zipper well lubricated, this makes the zipper slide a lot easier and will make it less likely to get stuck and damage the zipper tooth or slider. The use of zipper wax overtime can cause build up in the teeth, and cause leaks. It’s a good idea to use a soft bristled toothbrush and give your zipper a good cleaning every now and then.
The original drysuit zippers were made of metal, and though many manufacturers are still using metal, most have switched to a plastic zipper. We’ll save the pros and cons for another article, but it’s important to follow your drysuit manufacturers recommendation for lubricating your drysuit zipper. Using the wrong kind can damage your zipper and cause your suit to leak.
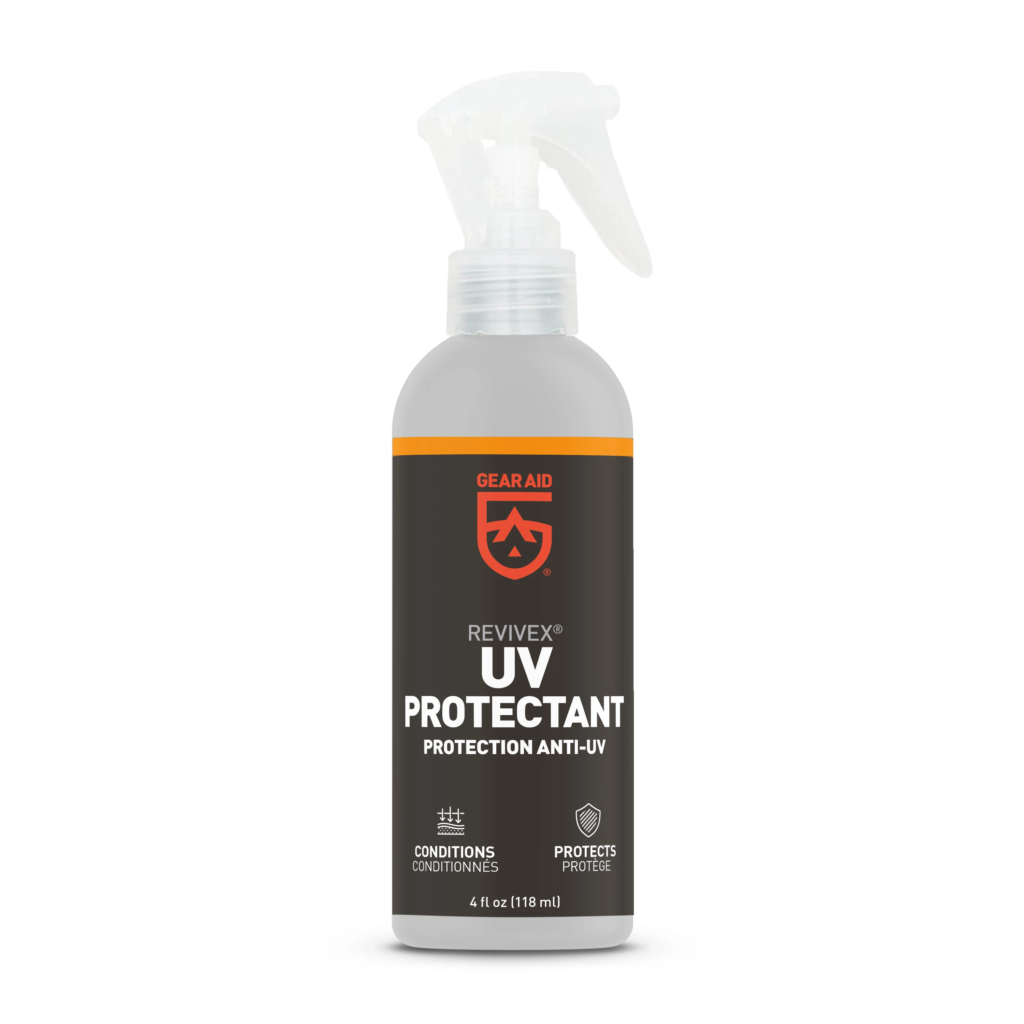
UV Tech is a powerful protectant for use on hundreds of items including dry suit seals, kayaks, binocular housings, boat covers and a variety of outdoor fabrics and materials. Rejuvenates synthetic and natural materials and protects surfaces from sun damage and color fading. Restores gear to its original condition and prolongs gear life. Ideal for float tubes, waders & more.
Most people don’t find rinsing and storing their gear meticulously the most enjoyable task, but it is essential to keeping your equipment lasting longer and making the dives you do more enjoyable and stress free. It won’t take too much out of your day and it will save you a world of headaches and a lot of money if you just do a few simple things to keep your stuff working properly.
The PADI Equipment Specialty can be completed online, and even counts towards your PADI Master Scuba Diver Certification!

There are some places you visit once and remember forever. Then there are places that somehow become a little piece

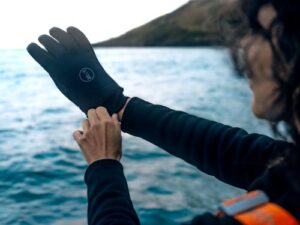
If you dive in cold water, you already know the problem: once your hands get cold, your dive is basically over. A proper drysuit glove system solves this by keeping your hands completely dry and insulated—even in near-freezing conditions.
This guide will walk you through exactly how to put together a reliable dry glove system, what components you need, and how to choose the right setup for your diving style.

Since the days stretch longer, and the ocean temperatures are more inviting, there’s no better time to explore the incredible

Contact us
© 2026 Diving Locker. Sitemap | Privacy | Terms & Conditions
Dive Essentials
Snorkeling
Freediving
We’ll give you a call if anything opens up!